How to Make Cake Pops – Halloween Cake Pops
Halloween Cake Pops Video tutorial – scroll down for recipe
I’ve had numerous requests over the years for cake balls and cake pops but I’m not really a baker/decorator kind of cook — a fact that probably comes as no surprise to anyone who’s been around here for a while. I don’t do much in the way of sweets at all, I guess, kind of funny because that’s what I started out with when I was a kid. Actually with this brownie recipe, to be specific. So I thought it best to bring in a pro for this one, since I am in no way desiring to stand in the way of anyone’s cake pop or cake ball fantasies. And it seemed extra great to do this for Halloween, since there are so many fun, ghoulish characters you could make!

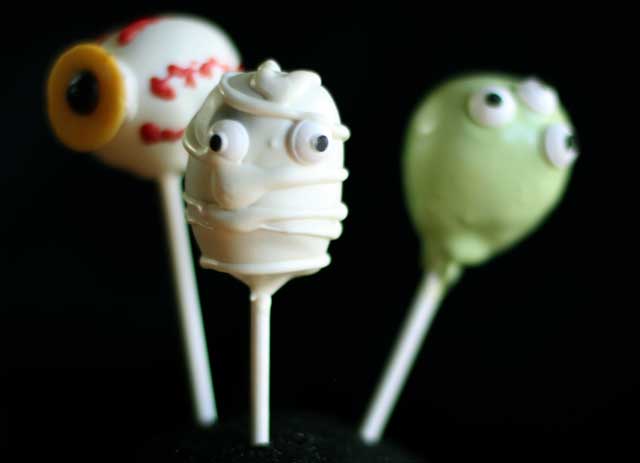
Here, Jessica of South Austin Cakes demonstrates how to make cake pops that look like a bloodshot eyeball, a mummy, and an alien head. Some other cake pop or cake ball decorating ideas for Halloween might be a Frankenstein head (using the cylindrical shape of the mummy with the green coating of the alien, throw some eyeballs on and some chocolate sprinkles for hair) or a ghost or even a jack o’ lantern.
I confess I totally used a box cake mix and even — kill me now — a canister of frosting. If you want to go the entirely homemade route, try this chocolate cake recipe (and chocolate ganache icing) or this recipe for chocolate cupcakes and frosting (instead of cups, bake the batter in a greased 9×13″ pan for about 30 minutes). I don’t have a vanilla cake recipe in my collection, but this one here looks good and if you mix it with vanilla frosting and add some sprinkles, you can make colorful cake pops like we did.
Cake Pop Tips
The least stressful way to do this is to spread it out over two days.
The first day, bake your cake, cool, cut into chunks and “stale” it for a couple hours.
Then crumble and make the dough. Store it in the fridge overnight.
The next day, shape and decorate the cake pops. They will stay good in the fridge up to two weeks!
Halloween Cake Pops Recipe
PrintHalloween Cake Pops
- Prep Time: 4 hours
- Total Time: 4 hours
- Yield: 24 1x
Ingredients
- 1 cake (9×13″ pan or 2 8×8″ layers)
- 1/4 –1/2 cup frosting (any buttercream-type)
- Lollipop sticks
- For decorating:
- White melting chocolate
- Colored candy melts (red, black, and yellow)
- Green coloring (oil based) or green candy melts
- Candy eyes
Instructions
- Cut the cake into chunks and leave to dry for 2-3 hours. Allowing it to get slightly stale gives a better texture to the finished pops.
- Shred the cake with two forks until it’s crumbed.
- Add 1/4 cup icing and mix with your hands until a dough forms. Don’t be afraid to get rough with it. Test to see if it’s moist enough by rolling a piece into a ball. If there are cracks in the ball, add more frosting by the tablespoon-ful and mix again. Adjust and test by rolling until you are able to roll a very smooth ball.
- Wrap the dough in plastic and refrigerate 2 hours or over night.
- When you are ready to make the pops, scoop the dough out with a cookie scoop or tablespoon measure.
- Massage the portions briefly to soften the dough, then shape: Roll into balls for eyeballs; teardrops for aliens; fat cylinders for mummies.
- Melt some black candy melts and use a piping bag to pipe pupils in the center of some yellow candy melts to make irises. Set those aside.
- Melt your white chocolate in the microwave in 30-second increments, stirring between each, until melted.
- Dip a lollipop stick into the chocolate just about 1/4″ deep and scrape off excess. Gently twist the stick into the cake balls and let set for 2-3 minutes.
- Now dip your eyeballs and mummies into the chocolate, swirling to coat.
- Remove excess by tapping the stick gently against the side of a bowl so that the chocolate smoothes out and any drips are caught.
- Allow to cool 20-30 seconds before pressing the “irises” onto the balls and the candy eyes onto the mummies.
- Let set by poking the stick into a block of styrofoam (or use a weighted foam egg carton).
- Set some white aside for the mummy wrappings later and color the rest of the white coating green.
- Dip your aliens and attach their eyeballs.
- Once the mummies and eyeballs have set, pipe strands around the mummies with the remaining white chocolate.
- Melt some red candy and pipe bloodshot veins around the eyeballs. Let set.
- Serve now or store in the refrigerator up to two weeks.
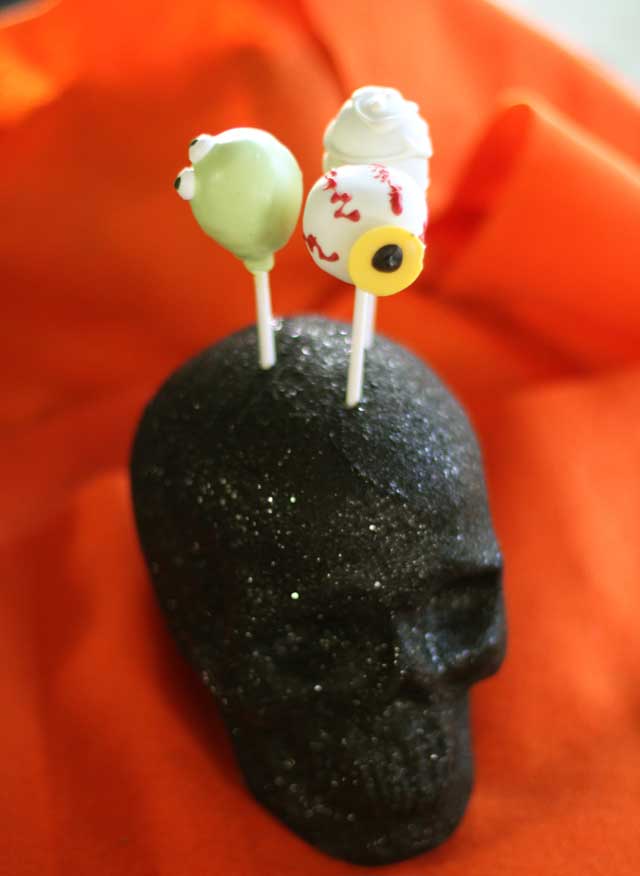
I picked up a styrofoam skull and used that to display our cake pops. Pretty cute, amiright?!?!

Cake pop supplies we used can be found here:
Lollipop sticks 100 count 6 inch;
Wilton Yellow Candy Melts, 12-Ounce;
Wilton Primary Candy Color Set


