Sprouting Seeds & Beans – How to Grow Sprouts
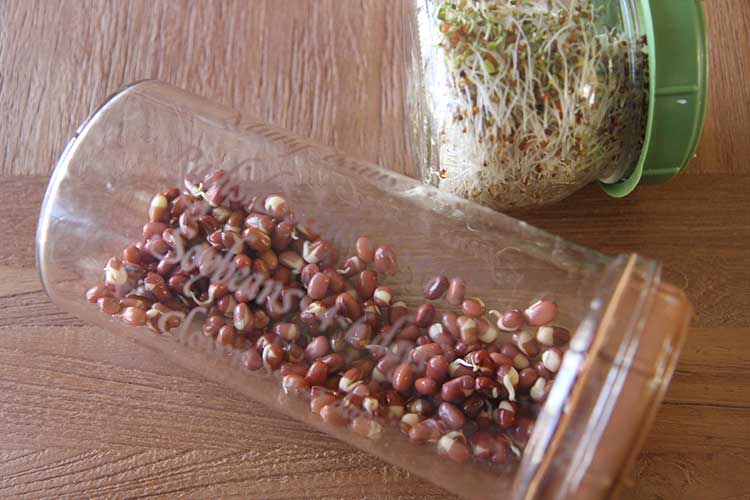
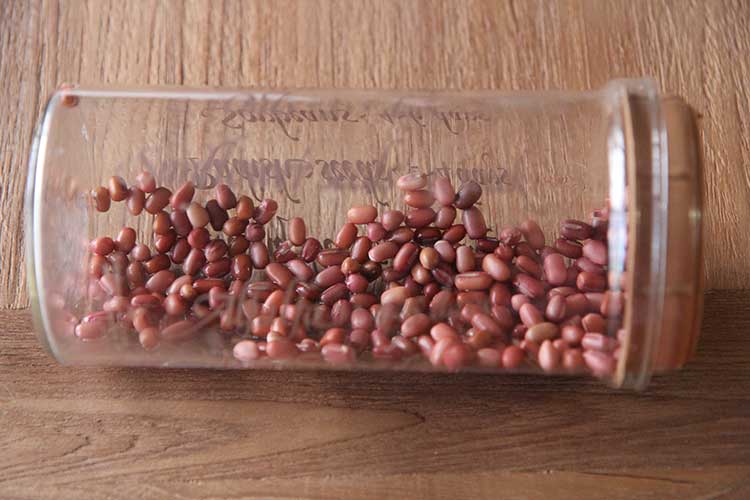
Sprouted adzuki beans, left, and alfalfa seeds, right. Day 4 and ready to eat!
In my time off, I’ve been experimenting more with sprouting. I know. It’s a wild life I lead. I’ve had this seed sprouting jar in my pantry for well over a decade now and had yet to use it. In a flurry of cleaning panic one day, I vowed to “sprout or get off the pot” and since I hate throwing away perfectly good things, I chose sprout.
And it’s fun! On the internet, there’s tons of articles telling you why to grow sprouts and if you believe any of them (sprouts aid digestion; sprouts have more vitamins; sprouts will ensure your unborn children are able to fly) it sounds like a pretty great idea. In my own personal internet (my brain) I really like how sprouts taste and I love the light, crisp, juicy bite they add to just about everything.
Many foods benefit from cramming some fresh sprouts in ’em. Omelets, salads, burgers, even a crappy microwaved burrito becomes a healthy treat when you open it up and stick sprouts inside.
A: a SAD-wich!
Now that I’ve convinced you, here’s how to grow sprouts:
Step 1:
Get a sprouting jar or a regular 1-quart jar. Make sure the jar has a wide mouth so you can easily get the sprouts out. Make a breathable lid with some cheesecloth and a rubber band if you don’t have a vented lid like these.
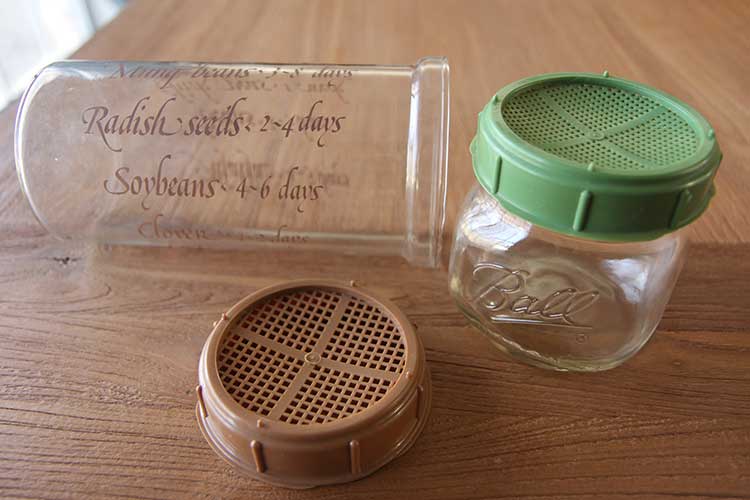
My sprouting jar has two lid options, one with large holes for beans and one with small holes for seeds. In a stroke of genius, I discovered that the lids also fit onto wide-mouth canning jars! So now I effectively have two sprouting jars. Voila.
Step 2:
Get some seeds. I got a mix of organic sprouting seeds from the farmer’s market. It’s hard to find sprouting seeds in stores, and sprouting does not work with the almonds, sunflower or pumpkin seeds that are sold for snacking (even if they’re raw) so your best bet is to buy them online. Sprouting beans, though, you can use probably any old bean. Most websites about sprouting will insist that you find organic beans that are meant for sprouting and they threaten you with the horror that regular beans will not sprout because they are laced with poison or radiation or whatever. I can only tell you that I’ve done this with non-organic, generic store brand of chickpeas, green lentils, and with the who-knows-what adzuki beans grown in China I got at the MT Market. Guess what. They’ve all sprouted. It’s possible that it was just my good luck, but I doubt it. I’m generally not very lucky.
Put your seeds or beans in the jar. Use one to three tablespoons, depending on the size of your jar and keep in mind that small seeds like these will increase in volume by up to 7 times; large seeds and beans will increase by only 2-3 times once sprouted.
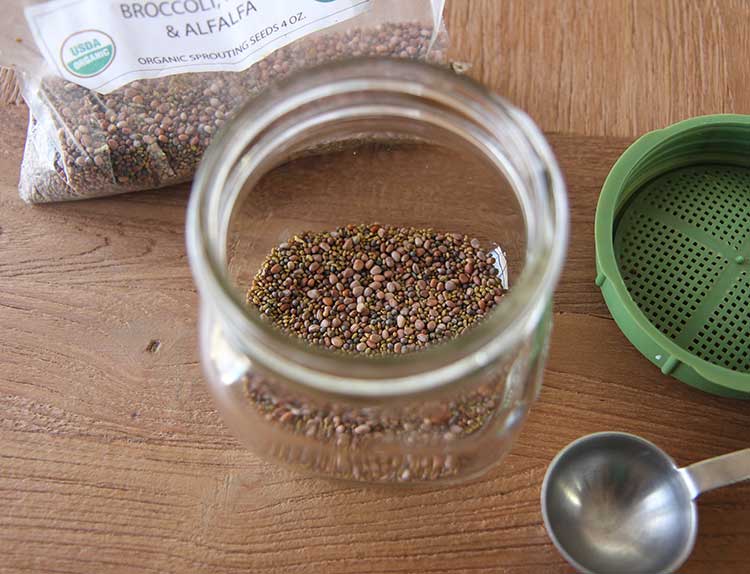
For this half-quart jar, I only needed a tablespoon of seeds to cover the bottom.
Step 3:
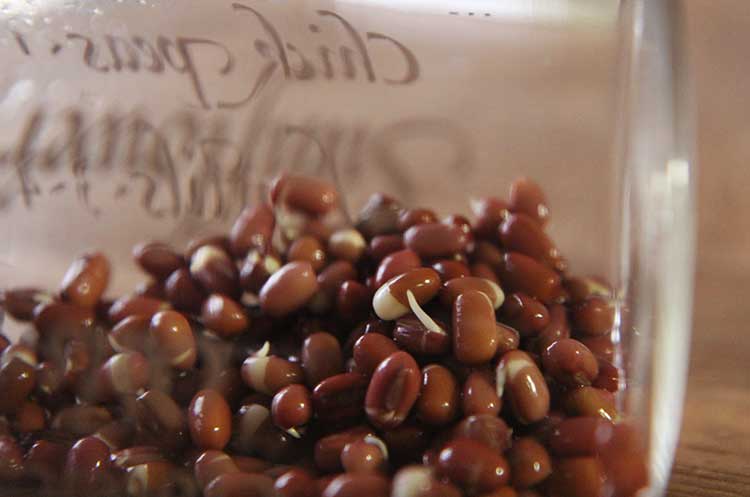
Add a couple cups of warmish water. Tap water is fine. Cover with your perforated lid or with a couple layers of cheesecloth and a rubber band. Let them soak for 8-12 hours (shorter time is needed for seeds and the longer time for beans). For beans, they should look plumper and probably paler than they were when you started.
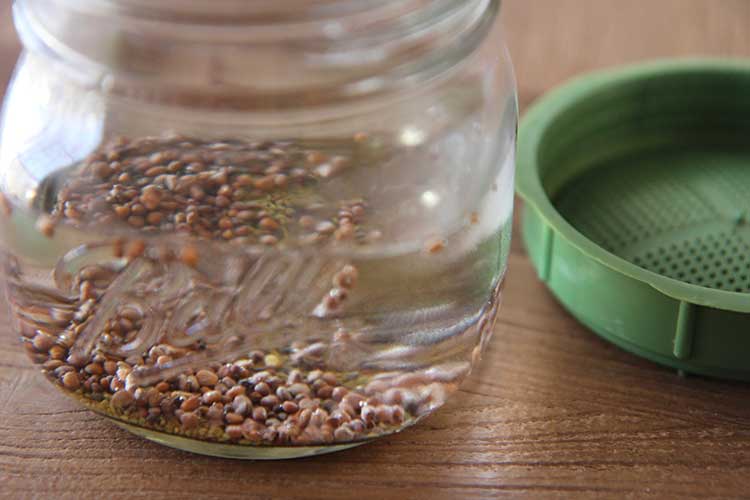
Use at least 3 times as much water as seeds and when in doubt, add more water.

Dry adzuki beans compared to soaked and ready to sprout adzuki beans
Step 4:
Drain. Pour the water out through the filter top. Shake the jar to arrange the seeds or beans in a line along the side, or bottom, or just look at this picture. Lay the jar on its side to aid air flow. Put it in a spot where it can get some natural light, but not a spot where it’s going to get hot from the sun. A kitchen or bathroom with the shades open should be fine.
Rotate the jar to spread the beans or seeds in an even layer
Step 5:
Every 8-12 hours (2 or 3 times a day, whatever you can manage) rinse and drain them again. Add about a cup of water (no need to remove your lid) give the seeds a gentle swirl, then drain and lay the jar on its side again, spreading the seeds out as much as you can.
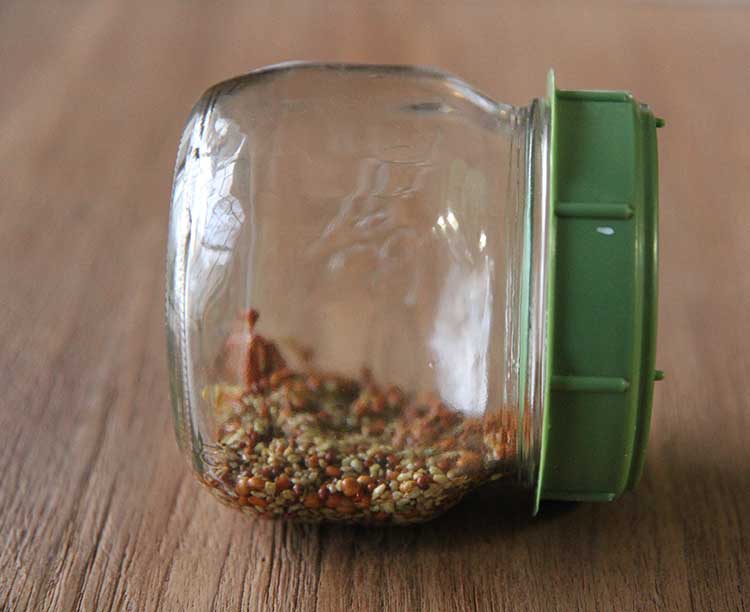
Day 1: after soaking 8 hours
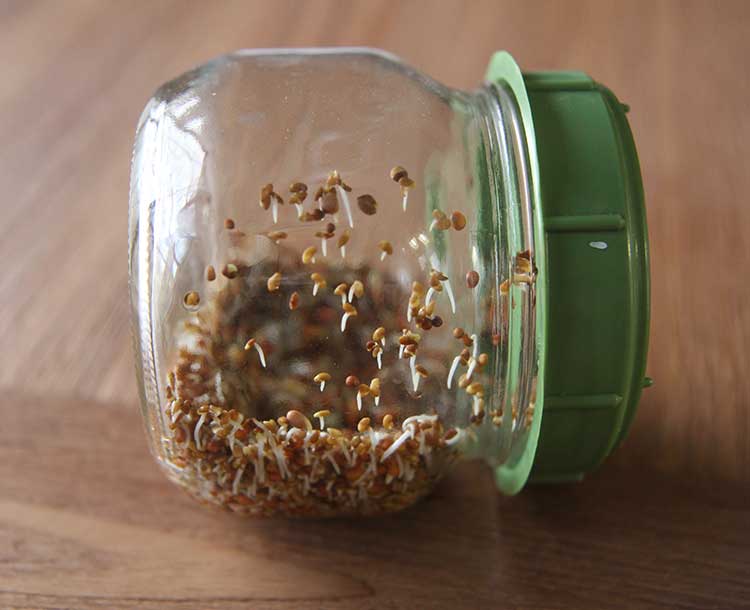
Day 2, after rinsing and redistributing seeds twice
Day 3
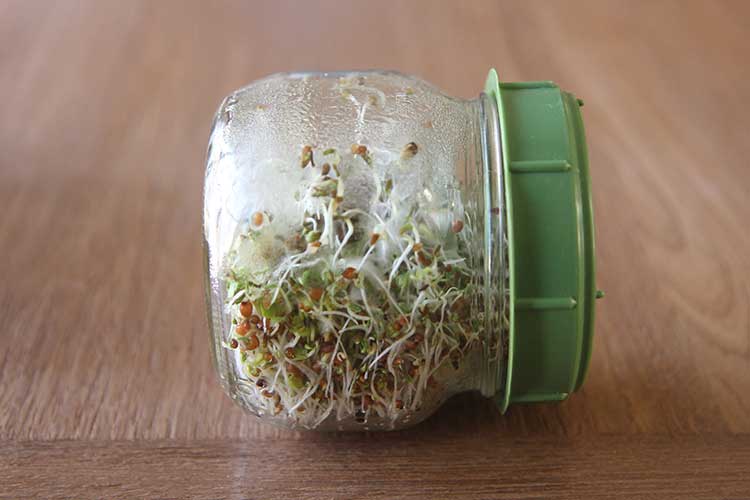
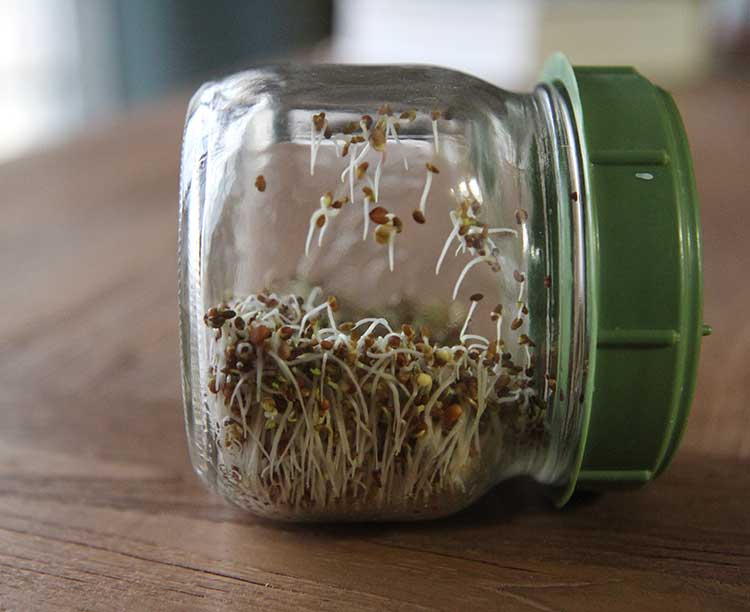
Day 4, my preferred eating day!
Step 6:
Sprouts! Depending on the type and age of your seeds or beans, you can expect to wait 2 to 7 days for edible sprouts. You can really eat the seeds or beans as soon as they begin to sprout, but if you prefer longer more plant-like sprouts, wait a few more days. I like my alfalfas to go for 4-5 days usually while most beans are eaten as soon as they begin to germinate, after 3-4 days. It’s up to you how long you want to wait or not wait. Here’s a general guideline for how long some common beans and seeds take to sprout.
- Alfalfa 4-5 days
- Chickpea 3-4 days
- Clover 4-5 days
- Lentil 2-5 days
- Mung 3-6 days
- Broccoli 3-6 days
Beans take much longer to sprout than small seeds. After 3 days, the adzuki beans begin to sprout. At 4 days, they should all have “tails” and can be eaten, or allowed to grow longer.
And that’s all there is to it! Sprouts can be eaten raw in any way you like. Small sprouts like alfalfa, broccoli, radish or clover are nicest eaten raw in salads or anywhere you’d use lettuce. Sprouted adzuki beans, lentils and mung beans are also a nice, crunchy addition to salads but can be cooked quickly in a stir fry, as well. Bigger beans like chickpeas benefit from being covered in hot (140F) water and allowed to cool before using. This removes the slight bitterness. Try this technique in my raw hummus recipe!
13 Comments
Leave a Comment


Excellent !!
I’m going to see if my daughter in law and grand children would like to try it!!!
Thanks!
Perfect fun project for kids, Terry!
What a fun thing to do! I’m going to try sprouting some of my dried beans.
I agree that this would be a great project for kids to try.
Thanks, Hilah!
Yay! It’s so rewarding. Have fun, Christine!
Hi Hilah,
This looks like fun. Thank you for turning me onto a new hobby.
Yay! It’s fun, I promise!
I give my sprouts a few drops of lemon juice in the rinse water just to make sure nothing else grows other than my sprouts.
Great tip, Mike! Nobody likes a moldy sprout!
this is brilliant… I was concerned about that issue. Thanks for the great idea.
I didn’t know what I was buying when buying online. I want to sprout these just for salads. Tell me if all of the following are OK for that purpose: Alfalfa, barley, clover, green pea, kale, rainbow chard & watercress. Thanks.
Hi Perri,
All of those will grow sprouts! I think alfalfa, clover and watercress are very tasty. Peas to me are a little bitter, but try it! I have not tried chard sprouts, but I bet they will be colorful.
Thanks for the advice – now another question: where do you buy your sprouting jars?
My mom gave me the ones I have, but you can find them easily online. Might also call around to health food shops or specialty kitchen shops to find one locally.